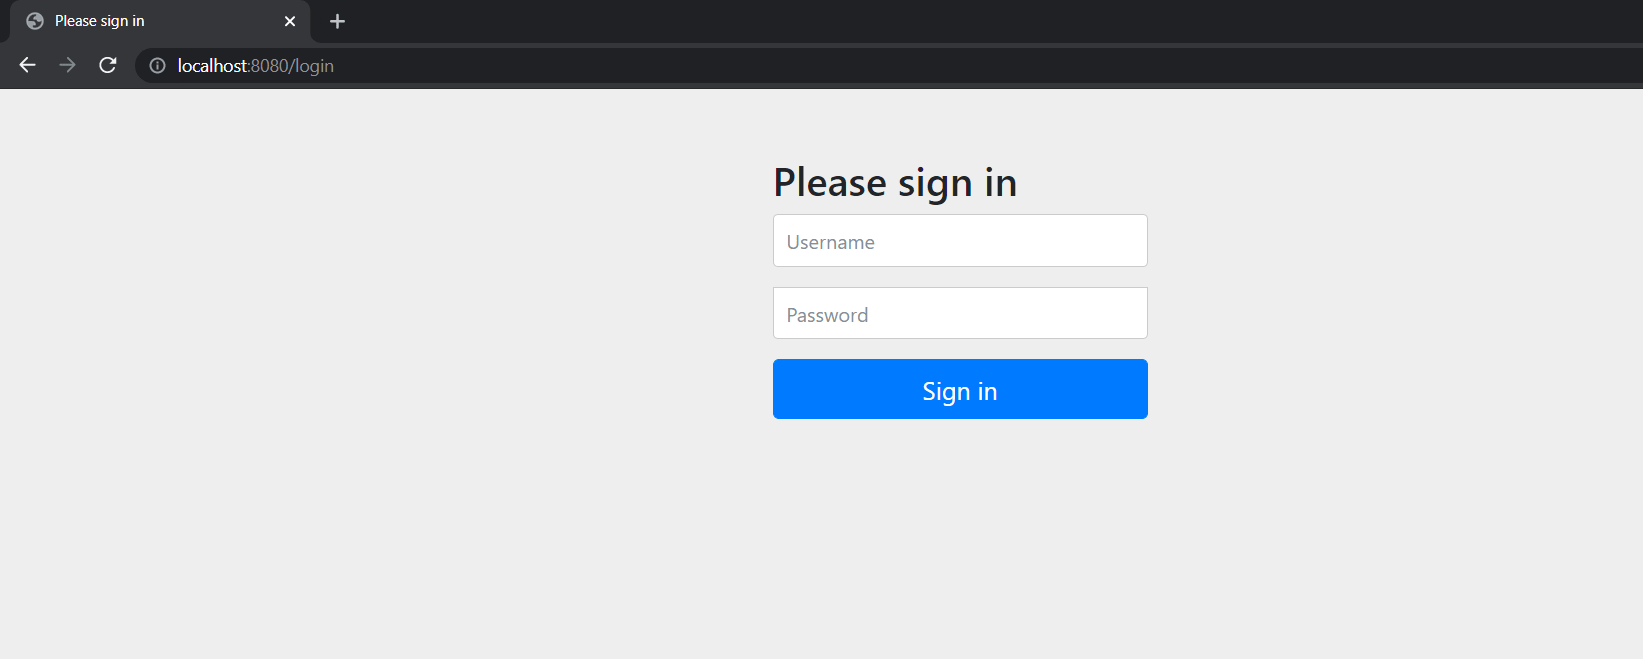
If you want to add security to your SpringBoot project and don’t know how… then continue reading this article. Here we will go step by step on how to add security to SpringBoot Project. And it can be done as quickly as 5 minutes. In addition to security, this will also add a smooth-looking Login Page automatically in your project. Therefore, you won’t even have to worry about how to authorize users either. Let’s get started.
Table of Content
- Adding Dependencies
- Creating SecurityConfigurer Class for Intercepting all Incoming HTTP Calls
- Creating MyUserDetailService Class for Matching Security Credentials
STEP 1:Adding Dependencies
In the first place, to add security to your SpringBoot project, you need to add the following dependencies in the POM.xml file of your project.
					<dependency>
    <groupId>org.springframework.boot</groupId>
    <artifactId>spring-boot-starter-security</artifactId>
</dependency>

<dependency>
    <groupId>org.springframework.boot</groupId>
    <artifactId>spring-boot-starter-web</artifactId>
</dependency>
STEP 2: Intercepting All Incoming HTTP Calls
Now we need to create a class called “SecurityConfigurer.java” which will extend from an interface called “WebSecurityConfigurereAdapter”. And then adding “@EnableWebSecurity” annotation to this class. With this annotation, you are allowing this class to intercept incoming HTTP calls and checking if it’s authorized or not. Just add the following code in the class:
					import com.example.java_crud_api_mysql.service.MyUserDetailService;
import org.springframework.beans.factory.annotation.Autowired;
import org.springframework.context.annotation.Bean;
import org.springframework.context.annotation.Configuration;
import org.springframework.security.config.annotation.authentication.builders.AuthenticationManagerBuilder;
import org.springframework.security.config.annotation.web.configuration.EnableWebSecurity;
import org.springframework.security.config.annotation.web.configuration.WebSecurityConfigurerAdapter;
import org.springframework.security.crypto.password.NoOpPasswordEncoder;
import org.springframework.security.crypto.password.PasswordEncoder;

@Configuration
@EnableWebSecurity
public class SecurityConfigurer extends WebSecurityConfigurerAdapter {

    @Autowired
    public MyUserDetailService myUserDetailService;

    @Override
    protected void configure(AuthenticationManagerBuilder auth) throws Exception {
        auth.userDetailsService(myUserDetailService);
    }

    @Bean
    public PasswordEncoder passwordEncoder() {
        return NoOpPasswordEncoder.getInstance();
    }
}
STEP 3: Matching Security Credentials
Lastly, we need to create a service class called “MyUserDetailService” which will extend from “UserDetailsService”. This UserDetailService comes from ‘WebSecurityConfigurereAdapter’ class. Simply copy the below code into this class.
					import org.springframework.security.core.userdetails.User;
import org.springframework.security.core.userdetails.UserDetails;
import org.springframework.security.core.userdetails.UserDetailsService;
import org.springframework.security.core.userdetails.UsernameNotFoundException;
import org.springframework.stereotype.Service;

import java.util.ArrayList;

@Service
public class MyUserDetailService implements UserDetailsService {

    @Override
    public UserDetails loadUserByUsername(String username) throws UsernameNotFoundException{

        // USE LOGIC TO FETCH THE CORRECT CREDENTIALS

        return new User("john", "doe", new ArrayList<>());
    }
}
Alright so what happens here is, when the user enters login credentials, it will be directed to this class. It will then be matched with the correct credentials, which I’ve hard-coded here for this article. Username: “john” and password: “doe” are the actual credentials. They are not the ones that the user entered. So, you can fetch the correct password from either your database or other secure sources.
And that’s all there is to it. Let’s run the service see the frontend on the browser. Whichever path you choose, it will be intercepted, and this login page would be shown to you first for authentication.
That’s a wrap!
I hope this article was helpful in explaining how to add security to SpringBoot project. Hope this gives you enough confidence to try it in your next or even the current project. Please like and share this article with others.
Have a great one!
Recent Comments
Categories
- Angular
- AWS
- Backend Development
- Big Data
- Cloud
- Database
- Deployment
- DevOps
- Docker
- Frontend Development
- GitHub
- Google Cloud Platform
- Installations
- Java
- JavaScript
- Linux
- MySQL
- Networking
- NodeJS
- Operating System
- Python
- Python Flask
- Report
- Security
- Server
- SpringBoot
- Subdomain
- TypeScript
- Uncategorized
- VSCode
- Webhosting
- WordPress
Search
Recent Post
Understanding Mutex, Semaphores, and the Producer-Consumer Problem
- 13 October, 2024
- 10 min read
Process scheduling algorithm – FIFO SJF RR
- 14 September, 2024
- 8 min read
How to Implement Multithreading in C Language
- 8 September, 2024
- 9 min read


