Hey developers! In this article, we’re going to see how to install WordPress on Dockers. Previously we’ve seen two different platforms where we can install WordPress. The first was on a subdomain; You can check it out here: how to install WordPress manually in Cpanel. The other was to install WordPress with xampp on the local host. This method is probably gonna be the easiest one of them all so let’s begin
Prerequisites
- Basic knowledge of Dockers and containerization technology
Table of Content
- Installing docker
- Setting up WordPress on docker
- Configuring WordPress
- Conclusion
What is Docker?
Docker is an open-source containerization software that creates isolated environments at runtime which allows various services to run and execute tasks. It is very light weighted and extremely fast. It also brings in the convenience of running multiple services or containers at once and collaborating with each other. Hence it has made a huge impact on the development, deployment, and testing process.
Step 1: Install Docker
1) Install Docker on Windows
- Download Docker for Desktop from here.
- Open and run the installation file
- According to your preference, select the options that it shows in the Configuration window.
- Restart your computer to complete the installation process.
2) Install Docker for Linux Ubuntu
To install for Linux, the easiest way, in my perspective, is through the Convenience Script method.
Open terminal and execute the following commands:
- curl -fsSL https://get.docker.com -o get-docker.sh
- sudo sh get-docker.sh
- sudo apt install docker-compose
Note: for Linux distributions such as Fedora, CentOS, Debian, etc. visit the official docker website.
Step 2: Setting Up WordPress for Docker
Firstly, make sure that the docker service is up and running. Now, to set up WordPress for docker, we need to create a docker-compose file. Create a file and name it “wordpress.yml”. Inside that file copy and paste the code below:
					version: '3.3'

services:
   db:
     image: mysql:5.7
     volumes:
       - db_data:/var/lib/mysql
     restart: always
     environment:
       MYSQL_ROOT_PASSWORD: abc.123
       MYSQL_DATABASE: programatically_db
       MYSQL_USER: db_user
       MYSQL_PASSWORD: wordpress

   wordpress:
     depends_on:
       - db
     image: wordpress:latest
     ports:
       - "8082:80"
     restart: always
     environment:
       WORDPRESS_DB_HOST: db:3306
       WORDPRESS_DB_USER: db_user
       WORDPRESS_DB_PASSWORD: abc.123
       WORDPRESS_DB_NAME: programatically

volumes:
    db_data: {}
Now that we’ve created a docker compose file, we need to run this script. Open up a terminal and execute the following command, while standing inside the same directory where this wordpress.yml file is created:
docker-compose up -d
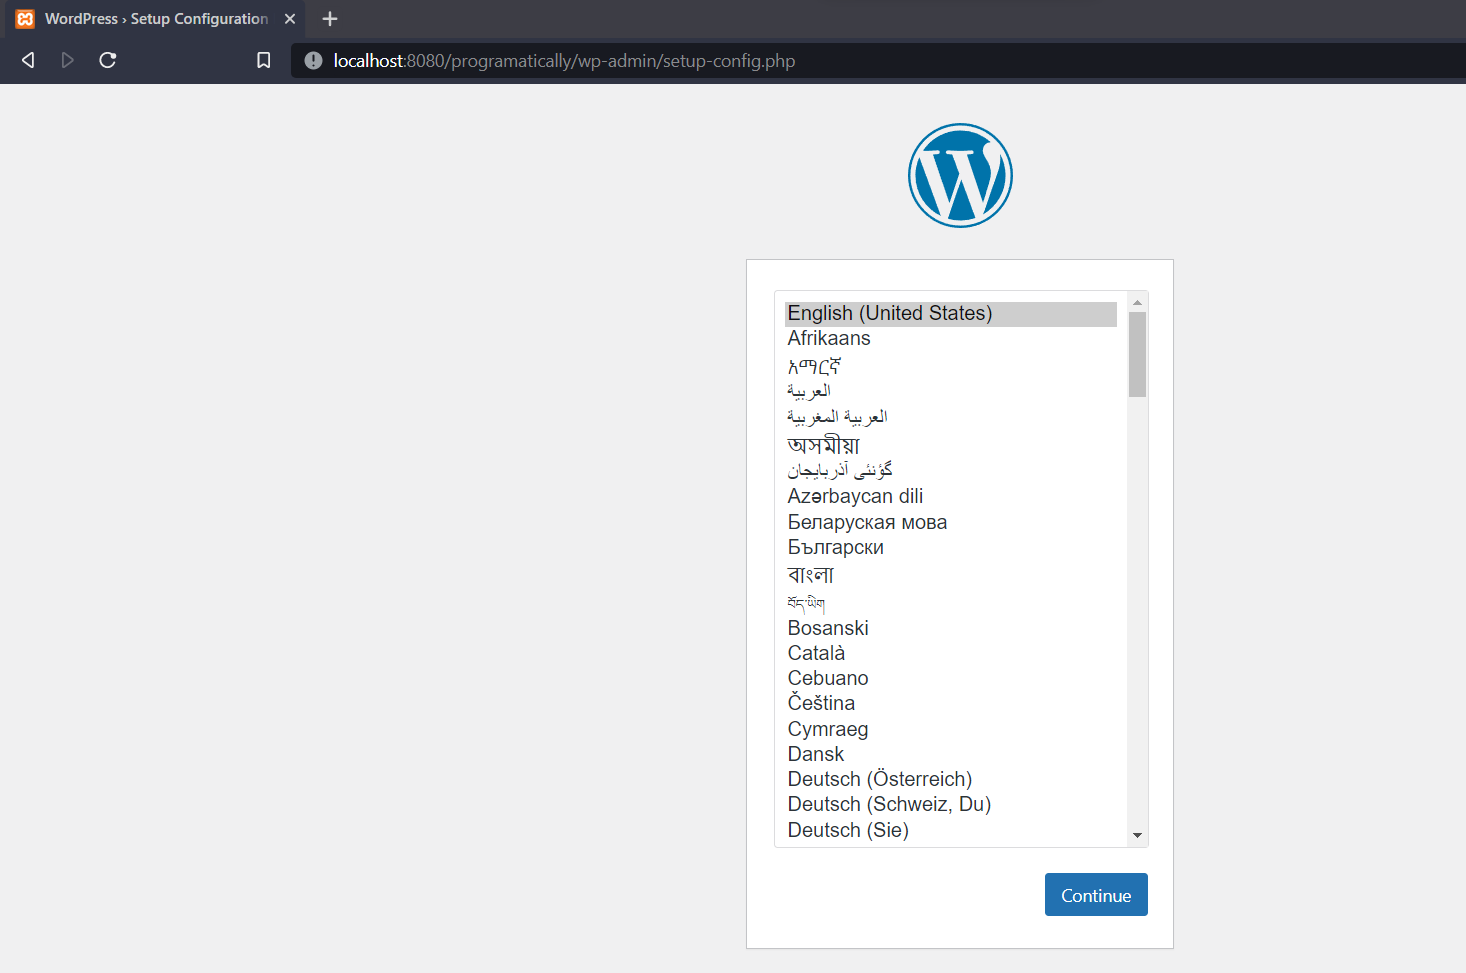
And we are done. Open your browser and go to this URL link to see the WordPress setup screen: localhost:8082
And that’s a wrap!
I hope this tutorial helped you learn how to install WordPress on Docker. You may also want to learn how to run WordPress on XAMPP or enable/disable comments in WordPress. Feel free to leave a review in the comment section below.
Have a great one!
Recent Comments
Categories
- Angular
- AWS
- Backend Development
- Big Data
- Cloud
- Database
- Deployment
- DevOps
- Docker
- Frontend Development
- GitHub
- Google Cloud Platform
- Installations
- Java
- JavaScript
- Linux
- MySQL
- Networking
- NodeJS
- Operating System
- Python
- Python Flask
- Report
- Security
- Server
- SpringBoot
- Subdomain
- TypeScript
- Uncategorized
- VSCode
- Webhosting
- WordPress
Search
Recent Post
Understanding Mutex, Semaphores, and the Producer-Consumer Problem
- 13 October, 2024
- 10 min read
Process scheduling algorithm – FIFO SJF RR
- 14 September, 2024
- 8 min read
How to Implement Multithreading in C Language
- 8 September, 2024
- 9 min read
