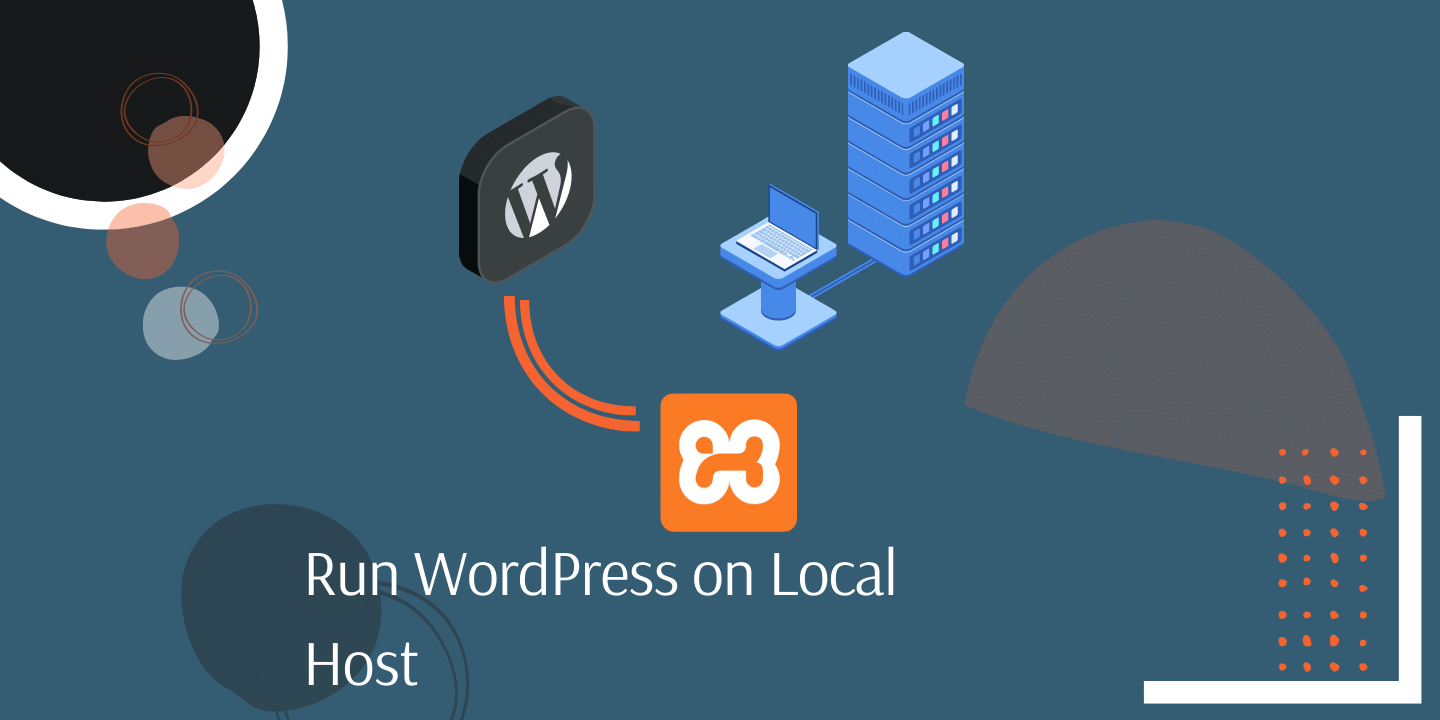
In this article, we will learn how to run WordPress with XAMPP on localhost. Are you planning to create WordPress website and do not have a Webhosting or domain yet? Then you can try installing WordPress locally on your computer. You can do this by WordPress with XAMPP. And later, when you have bought your Webhosting and domain, you can easily migrate your websitethere.Let’s get right into it.
Configuring WordPress on Local Host Server Using XAMPP
FAQ
XAMPP Local Host: Setting Up Control Panel XAMPP
Firstly, I’m assuming that XAMPP is already installed on your computer. If not then check here on how to install XAMPP. After that, you need to open the control panel XAMPP. Open the windows start menu and search for control panel and open it up. The control panel XAMPP would look like the image below:
XAMPP Control Panel
Wondering “how to use XAMPP localhost?”. Know that in order to start any local host website, you need 2 services.
Database
Webserver
Therefore, start the Apache and MySQL service by clicking on the start button as circled in the above image. There is a possibility that the Apache webserver may not start. Perhaps because the port it’s trying to run Apache service on is already in use by another service. So, simply change the ports in the control panel for the Apache service:
Click the Config button for the Apache service.
Go to Apache (httpd.conf) option
Search and replace the line“Listen 80″ with “Listen 8082″, and “ServerName localhost:8080″ line with “ServerName localhost:8082″
Save the file and restart the XAMPP Control Panel. Now try to start the Apache service and it should work just fine.
phpMyAdmin With XAMPP: How to Use XAMPP Database
Earlier we saw how to use XAMPP to start a local host server on our machine. Now we need to create a database and assign user roles before configuring WordPress for localhost. So, open your browser and enter your XAMPP localhost URL, in this case: http://localhost:8082
phpMyAdmin with XAMPP for Localhost
This default website will load up, so click on the “phpMyAdmin” highlighted on the top right side of the image shown. That will take you to another website where you can create a database for WordPress and assign user roles. Follow the steps shown in the below images.
Creating Database on phpMyAdmin:
Create a Database for WordPress on Localhost Using XAMPP
Creating User on phpMyAdmin:
Creating New User For Database for WordPress Login
Adding phpMyAdmin Database username and password. Assigning User Roles in Database
Click on the done button at the bottom of the page and the MySQL user would be created. And all the rights and user roles would also get assigned. Now, we can move on to installing WordPress locally.
WordPress for Localhost: Extract WordPress in XAMPP
To begin with, download WordPress setup file. Next, you need to extract all the WordPress files inside XAMPP directories. I have installed XAMPP in Windows ‘D’ drive, so there will be a “xampp” folder in the root directory of the D drive. It will be the same if you’ve installed XAMPP on the ‘C’ drive. Now follow the steps below:
Go to D:\xampp>htdocs
Create a folder here and its name should be your website’s name. (I’ve named mine ‘programatically’)
Go inside the ‘programmatically’ folder
Extract all the content of the WordPress file in here
The extracted WordPress file will have only 1 folder named “wordpress”. You need to copy all the content inside of this “wordpress” folder and paste it directly inside the “programatically” folder (D:\xampp\htdocs\programatically). The output should look like this following:
Host WordPress Locally: WordPress Extracted in XAMPP Local Host
All of the backend XAMPP configurations are done!
Configuring WordPress on Local Host Server Using XAMPP
Now simply go to your browser and enter the XAMPP localhost URL: http://localhost:8082/programatically (replace the ‘programatically’ part of the link with the name of your own website). WordPress with XAMPP should start up as shown in the below image:
WordPress with XAMPP: WordPress Configuration on Local Host
Click on continue to start the database configuration. As shown in the below image, insert the database name and the username with the password that we created in step “Creating User on phpMyAdmin” earlier.
Connecting Our WordPress Website to MySQL Database on XAMPP
WordPress for Localhost: Configuring WordPress Setup
Here you will be creating your WordPress username and password for the frontend access. You would be using these credentials to log in to your WordPress dashboard every time. This is not related to the phpmyadmin database username and password which we used earlier. After filling in the info click on “Install WordPress” and you are all set to go. The picture below shows the WordPress Dashboard to your Local host website.
WordPress with XAMPP: Website Dashboard after logging in
Hence, if you enter your XAMPP localhost URL in the browser again, localhost:8082/programatically, you’ll be taken to your running WordPress website. Now it’s your turn to set up your website to make it look and present the way you want it. Install Themes, Plugins, and experiment with everything on your localhost machine. After you’re done finalizing your website, you can migrate it to a Webhosting server and make it live.I would suggest Hostinger Webhosting for that.
In simple terms, a Localhost is a hostname of your own computer, which is running a program. When you browse for a localhost URL, you are essentially looking for the web server that is running locally on your own computer.