Hey developers! In this article, we are going to see how to make Web Scraper using JavaScript and NodeJS. For the example of this article, we are going to use NodeJS and Express as its framework. Along with a few common NPM libraries such as Axios and Cheerio. And for demonstration purposes, we are going to extract data from the current website, Programatically.
What is a Web Scraper
A web scraping tool is an easy and convenient way of extracting data and content from a website. Instead of tediously copy-pasting or jotting it down manually, a web scraper tool extracts the data you are looking for and saves it in a format that you want. You just need to target the fields and values using CSS classes and id and it will start scraping data.
Tl;dr
Just initialize an NPM project using these commands:
					npm init -y
npm i
npm i express
npm i cheerio
npm i axios
Then create an “index.js” file in the project directory and copy the following code.
					const axios = require('axios')
const express = require('express')
const cheerio = require('cheerio')
const { response } = require('express')

const PORT = 8000
const app = express()

app.listen(PORT, () => console.log(`server is running on PORT ${PORT}`))

axios('https://programatically.com').then(
    response => {
        const html = response.data
        const $ = cheerio.load(html)
        var list = []

        $('.heading-title-text').each(function() {
            const blog_title = $(this).text()
            const blog_link = $(this).find('a').attr('href')
            list.push( {blog_title, blog_link} )
        })
        console.log(list)
    }
).catch(err => console.log(err))
After copying all the above code in “index.js” file, run this command to start the Web Scraper tool:
node index.js
You can find the complete project file GitHub repository link at the bottom of this article.
Prerequisites
– NodeJS should be installed (Download NodeJS)
– Should Know About NPM
Table of Content
- Configure a Web Scraper Project
- Installing NPM Libraries Used in Web Scraping Project
- Create a Basic Web Server Using NodeJS
- Scraping All Html Script
- Summary of Web Scraping Code
STEP 1: Configure a Web Scraper Project
To begin with, create a folder called “Web-Scraper”. Open it in VSCode or any other IDE you like. Open a terminal or CMD and type in this command:
npm init
After you execute the above command, it will ask you a list of questions. Simply keep on pressing enter to all of the questions and you’ll be done.
Next, create a new file called “index.js” in the same project folder. After that, execute the following command in the terminal or CMD:
npm i
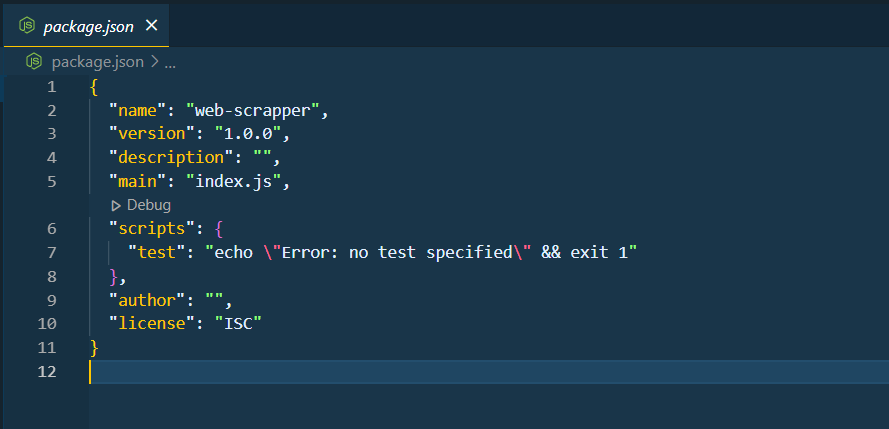
This will create a new file called “package.json” which will contain a list of all the dependencies that we’ll be using in this Web Scraper tool using JavaScript and NodeJS. See the image below of package.json file:

STEP 2: Installing NPM Libraries Used in Web Scraping Project
This is a very simple step. We need 3 NPM libraries in our Web Scraping project. They are Express, Cheerio, and Axios
Express is a very popular NodeJS Framework (Learn More)
Cheerio is used for traversing and targeting elements in your HTML script. It has a very similar syntax to jQuery. (Learn More)
Axios is a popular library used for creating and handling HTTP calls and requests. (Learn More)
Execute the following commands to get these libraries installed.
					npm i express
npm i cheerio
npm i axios
STEP 3: Create a Basic Web Server Using NodeJS
Moving on, it’s time to create a basic Web Server Using NodeJS and Express for our Web Scraper using JavaScript and NodeJS. Open the “index.js” file that we created earlier and write in the following code.
					const axios = require('axios')
const express = require('express')
const cheerio = require('cheerio')
const { response } = require('express')

const PORT = 8000
const app = express()

app.listen(PORT, () => console.log(`server is running on PORT ${PORT}`))
This will create a basic Web Server on Port 8000. It is where we will send and receive our HTTP requests and response. To see if this basic Web server is working, write the following code in the terminal:
node index.js
Note that you need to stop the project and rerun the above command whenever you make changes to your code. Now check the console and it should print a statement as shown in the image below.

STEP 4: Scraping All Html Script
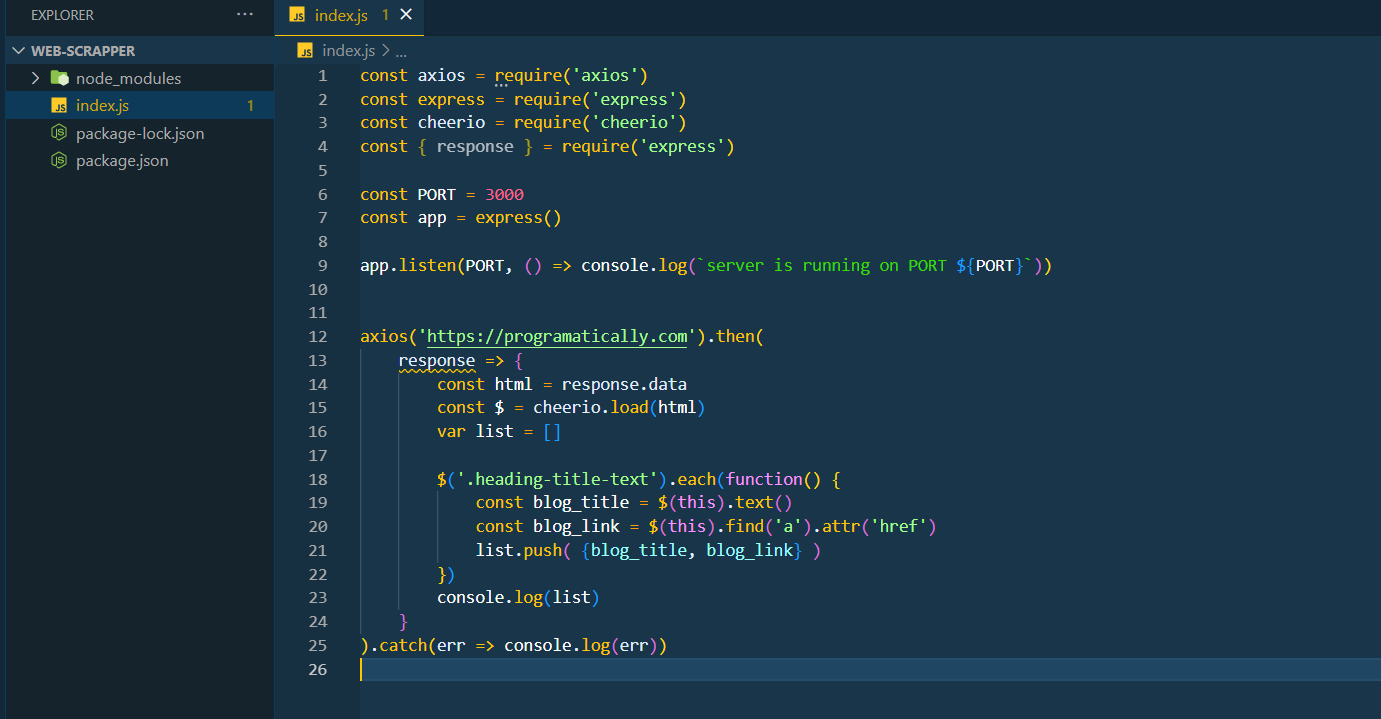
Finally, since we have our basic Web Server up and running, it’s time to create our Web Scraper using JavaScript and NodeJS. Write the following code in your “index.js” file after the webserver code that we wrote in the previous step. Afterward, restart your node project using the “node index.js” command.
					axios('https://programatically.com').then(
    response => {
        const html = response.data
        const $ = cheerio.load(html)
        var list = []

// Here I am Targeting CSS class and its Attributes to Fetch the Data.
// You Would Make your Changes Here
        $('.heading-title-text').each(function() {
            const blog_title = $(this).text()
            const blog_link = $(this).find('a').attr('href')
            list.push( {blog_title, blog_link} )
        })
        console.log(list)
    }
).catch(err => console.log(err))
STEP 5: Explanation of JavaScript Code
					const html = response.data
const $ = cheerio.load(html)
var list = []
The first line is simply fetching ALL the raw HTML content from the website link that we gave Axios. The next line is where we are using cheerios to parse in the raw HTML so that we can target our specific elements jQuery style. The last line is simply creating an empty list so that all targeted fetched data can be stored in it.
					$('.heading-title-text').each(function() {
    const blog_title = $(this).text()
    const blog_link = $(this).find('a').attr('href')
    list.push( {blog_title, blog_link} )
})
console.log(list)
The first line is where we are using cheerio syntax to target the CSS class of all the articles titles from the list of blogs on my website. The “.each” is used for performing an action for each of the traversed headings of the article. It is where I am fetching the “href” attribute of the blogs as well. I am storing both the title and href link to separate constant variables and simply pushing them in the list that we created earlier. However, I am pushing them inside “{ }” brackets to make it a list of objects. Lastly, I am simply printing out the list values in the console log.
The Big Picture

And we’re done.
Hope this article helps you guys to learn how to make a web scraper using JavaScript and NodeJS. Feel free to download and use the Web Scraper project that I have uploaded on my GitHub account. If there is any particular topic that you want me to cover just drop a message in the comment and hit the like button. Have a great one!
Recent Comments
Categories
- Angular
- AWS
- Backend Development
- Big Data
- Cloud
- Database
- Deployment
- DevOps
- Docker
- Frontend Development
- GitHub
- Google Cloud Platform
- Installations
- Java
- JavaScript
- Linux
- MySQL
- Networking
- NodeJS
- Operating System
- Python
- Python Flask
- Report
- Security
- Server
- SpringBoot
- Subdomain
- TypeScript
- Uncategorized
- VSCode
- Webhosting
- WordPress
Search
Recent Post
Understanding Mutex, Semaphores, and the Producer-Consumer Problem
- 13 October, 2024
- 10 min read
Process scheduling algorithm – FIFO SJF RR
- 14 September, 2024
- 8 min read
How to Implement Multithreading in C Language
- 8 September, 2024
- 9 min read


